
Thursday, March 17, 2011

Rhythm


technique description.
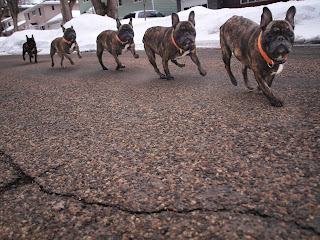
For this project, we focused on rhythm: the repetition of visual elements or subjects. I took several pictures of the same subject, either in motion or simply in different places. I used one of these photos as the 'background' photo. Then, for the other four, I selected the subject from each photo using the selection tools we've been working with. I applied a layer mask so that the only thing visible was the subject and I pasted that layer onto the background one. I also used some adjustments to fix the color and lighting to make the images look more realistic and vibrant.

reflection.
I think I did a good job editing these photos to make them look like there were multiples of the one subject. One thing I encountered was my dog turned out very dark in the photos and when I tried to adjust the levels, the shadow got light too. I fixed this by duplicating the layer, but getting rid of the shadow before adjusting that layer.

Friday, March 11, 2011

Selection


technique description.
To edit these photos, I used the various selection tools in photoshop (lasso, quick selection, magic wand...) to select an area. Then, I made the rest of the photo black&white (using the adjustments) to put emphasis on the subject.

reflection.
I think my photos turned out pretty well. The selections are good and I used the tools correctly to make the background black&white. One thing that was kind of frustrating was when the quick selection tool would select more than I wanted it to, and I switched to using the magnetic lasso.

Thursday, March 3, 2011

Portraits


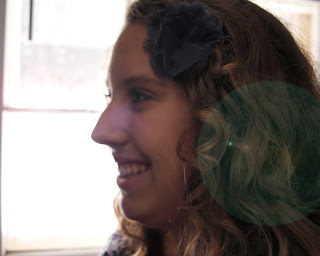
natural. backlighting. reflected. lens flare.

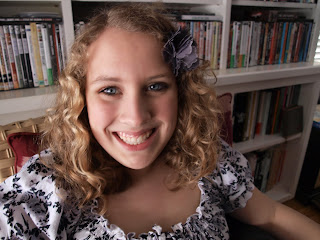
natural. 3/4 lighting. surface blur.

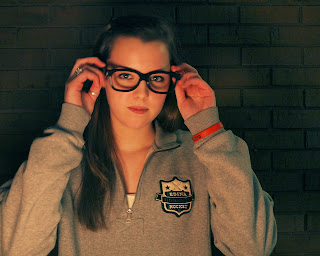
artificial. front. diffused. surface blur. photo filter.


technique description.
For this assignment we focused on Portrait photography and working with different types of lighting. We did both studio and natural lighting, and then worked with different angles (back, side, 3/4, front) and different techniques (direct, diffused, reflected). When editing on Photoshop, we learned how to work with the Spot Healing tool and the Surface Blur with a layer mask to even out skin in close-ups. We also learned about using an Overlay layer and the brush tool to enhance features. We also worked with lighting effects and photo filters.

reflection.
I think that I did a good job editing these photos. They still look realistic, but I enhanced the features of my subjects and evened out their skin. I also used lens flares and photo filters to add interest to the photos. One thing that I could have done better, however, was my photos in artificial lighting. They didn't turn out very well because it was kind of dark and a lot of them ended up being kind of blurred from the subject moving.